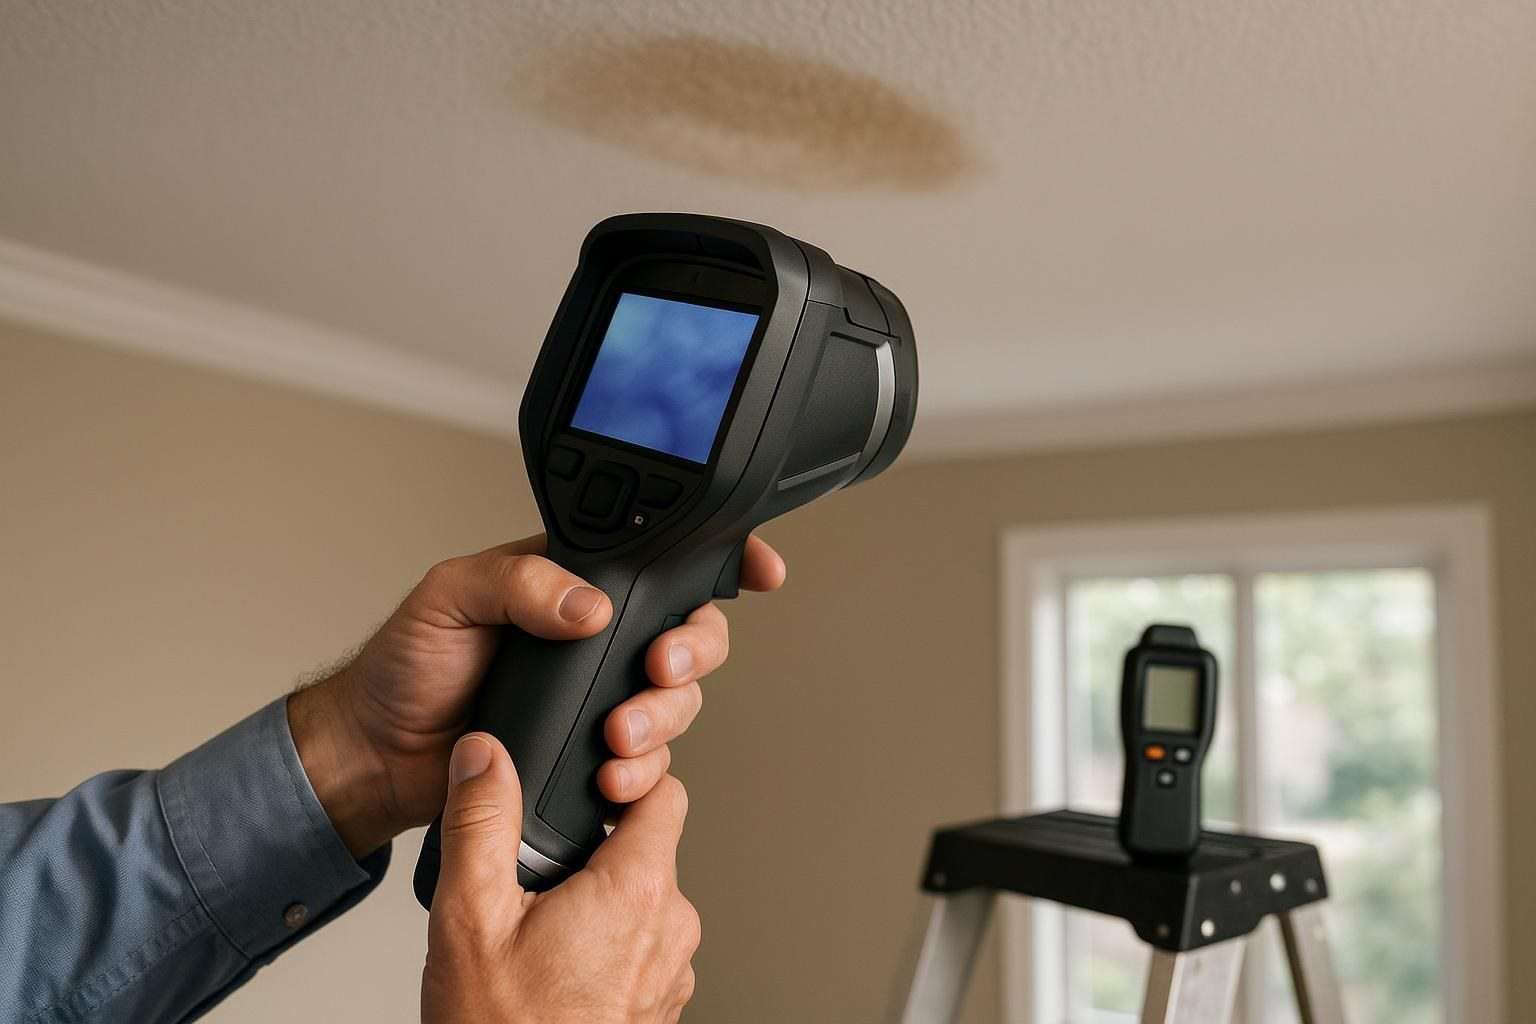
Tracing the Source of a Ceiling Stain with Infrared Technology
A brown ceiling stain may seem harmless when it dries. In a Dallas home that ceiling stain can hide the source of the moisture. For a tenant plumbing problems, an AC drain or a roof leak might be hiding above the finished ceiling. In this situation the main worry is not whether the ceiling stain feels warm or cool, on a camera. The real questions are: where did the moisture come from is any dampness still present and what can a thorough inspection reveal before any physical repairs begin?
Assessing the Situation: Look Beyond the Stain
Before using any technology it's crucial to think about the context of the ceiling stain. When did the ceiling stain first appear? Did the ceiling stain happen at the time of rain HVAC use, plumbing work or a spill during cleaning? Write down the size of the ceiling stain. How close it is to fixtures. Look for signs of odor, soft paint or bubbling. A clear timeline can show the problem better than a color comparison.
Different places need approaches. For example a ceiling stain under a bathroom should make you follow an investigation than a ceiling stain under a roof opening. In spaces such as offices or retail stores there can be complications: suspended ceiling tiles, shared plumbing and rooftop equipment make the leak search more difficult. Safety rules about how many people're in the building. Worries about dust or debris can also limit how carefully you can inspect.
The Advantages of Infrared Scanning
Infrared technology is a helper in finding leaks. An infrared camera lets inspectors see temperature differences on surfaces. Damp ceiling stains and walls give readings because of evaporation. Water moving through ceilings or walls can make temperature patterns that the eye cannot see. Infrared can also reveal air leaks, weak insulation and thermal bridges which help condensation problems from plumbing or roof leaks.
Even though infrared works well an infrared scan is a tool for finding spots to look at. It shows where to use a moisture meter or which ceiling tile needs checking. Remember, infrared scans cannot go through every material. Give a water amount. Just because a warm spot shows up does not mean there is a problem. Electrical wiring, lights and HVAC surfaces can change readings.
Moisture Measurement: Pairing Techniques for Accuracy
To see the picture combine images with moisture readings. A non‑invasive moisture meter gives a view. A pin meter can confirm moisture in spots. Always read the results next to the surrounding ceiling stains-isolated readings can mislead.
Keep in mind that some things can change meter results. Metal, coatings and changes in density can make readings wrong. Ceiling stains on tiles or masonry need methods. Seeing a pattern in readings tells you which ceiling stain spots need work or a pro; do not trust one reading alone.
It is also important to see that a dry ceiling stain giving a reading does not always mean there was no leak. Water can disappear fast. Move away staying hidden behind finishes that your tools cannot see. A high moisture reading can also show damage, not a problem. Old records, weather and many checks give context.
Differentiating Between External and Internal Sources
Watch how the ceiling stain changes with weather. If the ceiling stain gets worse when it rains you might have a roof or wall problem especially if the ceiling stain is near roof holes or edges. On the hand condensation usually shows up near supply ducts and insulated parts especially where the room is very humid.
Plumbing leaks often show up when fixtures are used and HVAC problems can show during cooling. These clues are not proof. Water can travel through framing and ceilings making the ceiling stain show far from the leak.
In a home the next step might be to look at fixtures the connections. In a business you may need to call HVAC or roof experts. Pick the helper based on proof, not convenience.
Streamlined Inspection: A Practical Checklist
To keep your inspection organized remember these four steps:
1. Document the symptoms, the approximate location and any relevant prior events.
2. Conduct scans of surfaces next to the stain than concentrating on the stain.
3. Verify areas using moisture measurements and visual inspections.
4. Record what remains unverified and outline the steps
Ensure that photographs provide context for the room as close‑ups.
For readings include details, about the distance, surface conditions and any nearby operable equipment.
This information helps others analyze findings effectively than relying on images.
Knowing When to Seek Professional Help
Prompt action is vital when conditions arise. If materials show signs of deterioration if ceilings sag if water comes close, to installations or if active leaks appear it is time to call in experts. Caution is also needed around any heat patterns that appear near panels or devices. Qualified electrical professionals should investigate these anomalies.
When substantial damage is detected or suspected it is important to follow codes and professional guidance. Building codes and remediation protocols can vary, making it essential that you consult with the professionals before starting repairs.
Ultimately the objective of scanning, in Dallas is not just to produce images. It is to refine your focus: determine which areas merit examination or action and to ensure that every decision is backed by evidence. Combining scans, moisture readings and diligent inspections reduces repairs while clarifying areas that truly need attention.